
Last updated October 15, 2026








Free written scope consultation - allowances, timeline, and change-order rules on paper before a single trade is scheduled
General Contractor Maintenance Checklist for Austin Homeowners
Most Austin homeowners don’t lose money on remodels because the contractor was bad. They lose money because deferred maintenance turned a $600 fix into a $14,000 structural repair. The soil under your house moves more in one Texas summer than many soils move in a decade. Heat expands your slab, drought shrinks the clay beneath it, and humidity swells every wood door and window frame in the house. We pull baseboards off walls and find exactly the same three culprits in house after house across Austin: water that found a path, wood that rotted in the dark, and caulk that gave up quietly years ago. This guide is the checklist we wish every homeowner had before they called us for a remodel.
Quick Answer
A contractor-grade maintenance checklist for Austin homes should hit these categories every year: foundation movement checks, caulk and expansion joint inspection around doors and windows, HVAC condensate line flushing, exterior wood and siding inspection before summer heat seals in moisture damage, and irrigation runoff verification. For a deeper dive, see our Seasonal Construction Care for Austin: Year-Round Homeowner’s Guide. The difference between a $200 annual inspection and a $20,000 repair is almost always one skipped season of small fixes.
Styles & brands we work with







Table of Contents
- 1. Foundation Checks: Reading the Same Signs a Contractor Reads
- 2. Caulk and Expansion Joints: Austin’s Temperature Swings Break Seals Every Year
- 3. HVAC Condensate Lines: The Water Problem Nobody Sees Coming
- 4. Exterior Wood, Deck Ledgers, and Siding: Spring Moisture, Summer Damage
- 5. Irrigation and Drainage: Keep Water Moving Away from the House
- 6. Documentation: How to Keep Records That Get You a Written Estimate, Not an Open-Ended Quote
- 7. The Austin Seasonal Rhythm: What to Check When
- 8. Common Mistakes to Avoid
- 9. When to Call a Professional
- 10. Frequently Asked Questions
Foundation Checks: Reading the Same Signs a Contractor Reads
Central Texas sits on expansive clay soil. When it rains, the clay swells. When it dries, it shrinks and cracks. Your foundation moves with it, and that movement shows up in places most homeowners miss. We walk through houses in Round Rock, Cedar Park, North Austin, and South Congress and see the same telltale signs on four out of five properties.
Here is what you check yourself every six months, and what each sign actually means:
- Diagonal cracks above door frames and windows at roughly 45 degrees. Hairline cracks under 1/16 inch are usually cosmetic. Cracks wider than 1/8 inch that run the full height of a wall suggest real foundation movement.
- Doors that stick or swing open on their own. A door that binds in summer may just be humidity swelling the slab under the jamb. A door that won’t latch in winter could mean the foundation has shifted enough to change the frame geometry.
- Gaps where baseboards meet the wall or floor. If you can slide a quarter into the gap, the wall covering is pulling away from the framing, which often tracks back to slab or pier movement.
- Cracks in tile or grout lines running diagonally across a room. Tile doesn’t flex. When the slab moves beneath it, tile cracks in long straight lines that often point toward the source of the stress.
If you’re on a pier and beam foundation, get under the crawl space once a year with a flashlight. Look for piers that have tilted off their pads, beams that have pulled apart at the splices, and standing water or damp soil near the piers. A pier that was plumb in March can be leaning four inches by September if the moisture around it changes. Austin’s wet springs followed by brutal dry summers cause more pier movement than most homeowners realize.
Slab foundations don’t give you a crawl space to inspect, so you read the house itself. Walk each room slowly with a level. Place a marble on the floor in the middle of a room and see where it rolls. Check every door in the house the same week in spring and fall. Take photos with a date stamp. The pattern of change over time matters more than a single reading.
When a contractor sees these signs during an estimate, the price changes. Not because the contractor is inflating anything, but because the scope just expanded from cosmetic work to structural remediation. That’s why documentation matters so much: a homeowner who says “the crack hasn’t widened in three years” helps us price the job accurately. A homeowner who hasn’t looked at it since they bought the house gets a contingency line item.
Caulk and Expansion Joints: Austin’s Temperature Swings Break Seals Every Year
Austin swings from near-freezing winter nights to 105-degree summer days, often within the same season. That’s a 70-degree temperature range working against every sealed joint in your house. Caulk is not permanent. Silicone caulk lasts 10 to 20 years indoors but only 3 to 5 years outside in Central Texas sun. Latex caulk lasts half that. When caulk fails, water gets behind it, and from there the damage compounds quietly inside the wall cavity.
Here is the seasonal caulk and sealant check we recommend doing twice a year, once in spring before the rainy season and once in fall after the first cold snap:
- Walk the exterior perimeter. Look at every window, door, and penetration point where pipes, wires, or vents pass through the exterior wall.
- Press on each caulk joint with a fingernail or a flathead screwdriver. If the caulk is stiff, cracked, or pulls away from the surface, it’s done.
- Inspect the expansion joints between wood trim and brick, between stucco panels, and around any exterior fixture. These joints are designed to flex. When they harden, the material cracks and becomes a water path.
- Check interior caulk around tubs, showers, and sinks. Failed tub caulk is the leading cause of hidden water damage we find during Bathroom Remodeling in Austin projects.
- Look for white chalky residue on caulk lines, which indicates mineral deposits from water that has already penetrated behind the seal.
In our experience, Austin homeowners tend to catch the obvious interior failures and miss the exterior joints entirely. The southwest-facing side of the house takes the worst beating: direct afternoon sun plus reflected heat from driveways and patios bakes the caulk on that elevation two years faster than on shaded walls. If you only have time to inspect one side, start with southwest.
The fix is straightforward: remove the old caulk, clean the joint, apply new sealant rated for the right material. We use siliconized acrylic or 100% silicone depending on the substrate. But if you’re seeing repeated caulk failures in the same joint within a year, the problem is movement, not material. That’s when the joint itself needs to be redesigned or the structural issue behind it needs attention.
HVAC Condensate Lines: The Water Problem Nobody Sees Coming
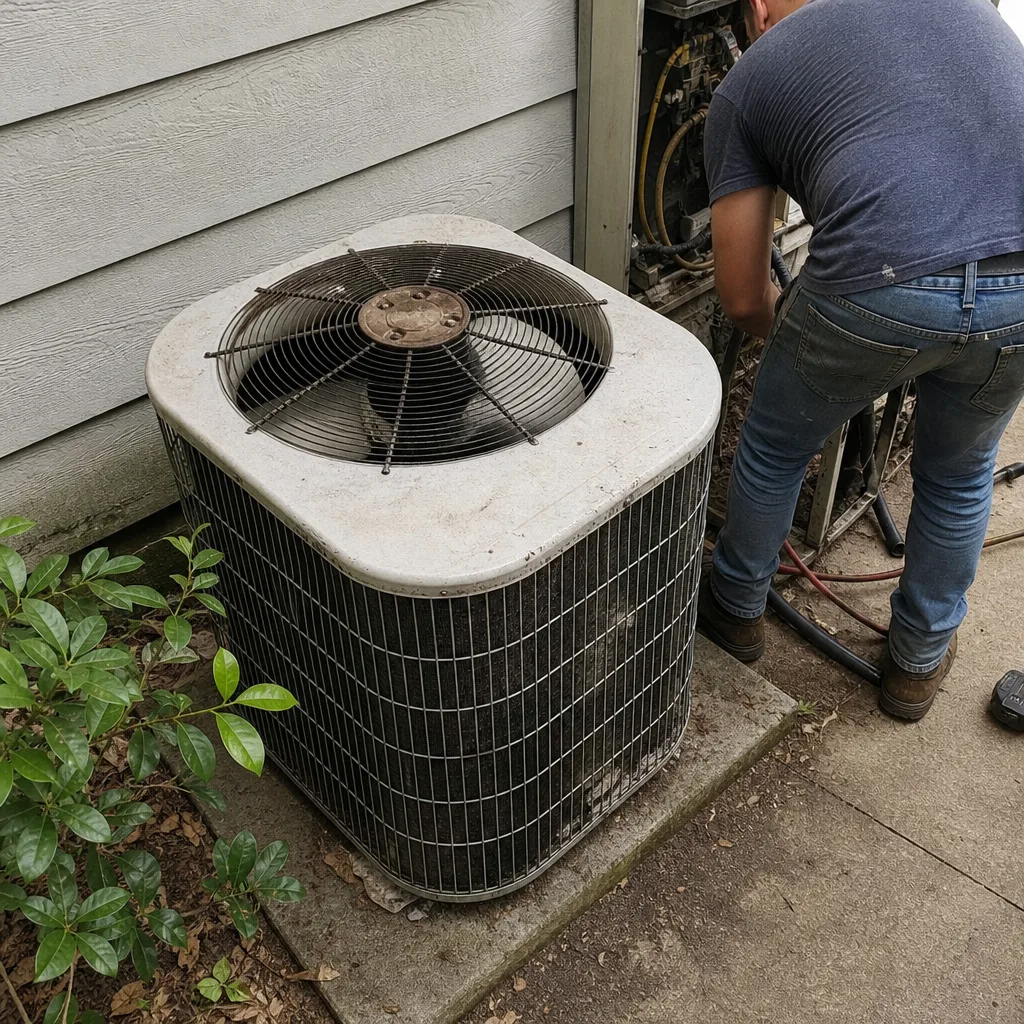
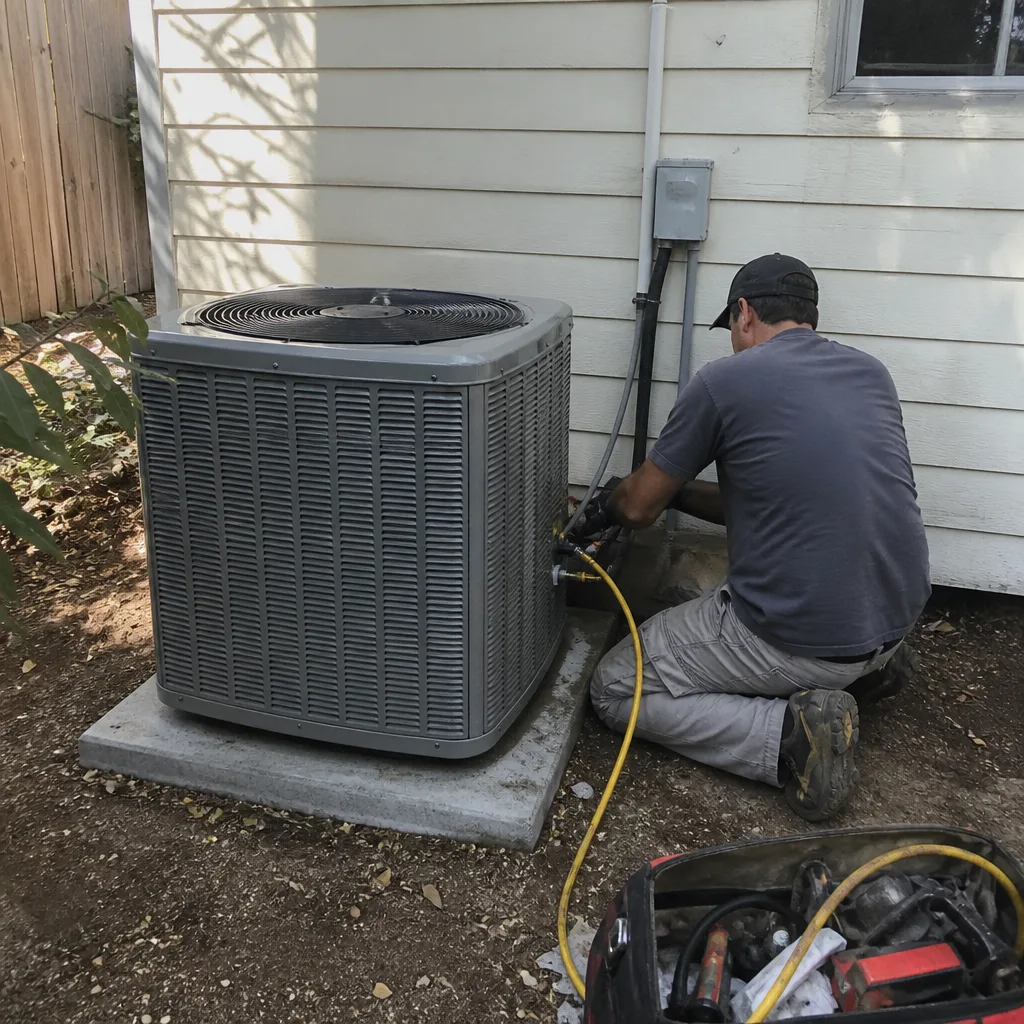
Your air conditioner removes gallons of moisture from your indoor air every week between May and October. That water has to go somewhere, and in most Austin houses it drains through a PVC condensate line that runs to the outside of the house or into a drain. When that line clogs, the water backs up. In a slab-on-grade home, the overflow often surfaces inside a wall cavity or soaks the slab from the inside, which can go undetected for months.
We see this in home after home during Kitchen Remodeling in Austin and whole-home projects: a wall opened up for new electrical or plumbing reveals a dark streak running down from the ceiling, and the homeowner had no idea anything was wrong.
Here is the routine that prevents the problem:
- Find the condensate line termination point outside your house. It’s usually a small PVC pipe sticking out of the wall near the condenser unit.
- Pour one cup of white vinegar down the line once a month during cooling season. Vinegar dissolves the algae and sediment that cause clogs without damaging the PVC.
- If the line has an access tee inside the house near the air handler, open it and look for standing water. Standing water means the line is already slowing down.
- Check the overflow pan under the air handler if you have an attic unit. If there is any water in that pan, the primary line is not draining correctly.
- After heavy summer rains, check the area around the outdoor line termination. If the surrounding soil stays damp for days, the line may be discharging directly against the foundation.
This is one of the cheapest maintenance items on the list and one of the most consequential when neglected. A properly maintained condensate line costs about a dollar a month in vinegar. A failed line that soaks a ceiling, a wall cavity, and a section of subfloor can turn a planned $8,000 remodel into a $25,000 job that includes mold remediation, framing replacement, and re-insulation.
Exterior Wood, Deck Ledgers, and Siding: Spring Moisture, Summer Damage
Austin’s wet season runs from late spring through early summer, and the heat that follows locks moisture into wood like a kiln. Exterior wood that sits through this cycle without inspection will rot from the inside out. By the time the damage is visible on the surface, the structural integrity is usually gone.
The highest-risk areas are deck ledgers, the horizontal boards that attach a deck to the side of the house, and any wood siding near grade or under roof valleys. A failed deck ledger is one of the most dangerous conditions we encounter, and it often shows no warning until a section of deck separates from the house.
Here is the annual spring wood inspection routine:
- Inspect the deck ledger connection. Look for gaps between the ledger board and the house sheathing, rusted fasteners, and water staining below the connection. Use a screwdriver to probe the wood near fasteners. If the tip sinks in with little resistance, the wood is rotting.
- Walk the deck and feel for spongy areas, especially near the ledger and at post bases. A deck board that flexes more than its neighbors has lost structural support beneath it.
- Check all siding where it comes within 6 inches of grade. Soil should never touch wood siding. If it does, the wood wicks moisture continuously and rot is inevitable.
- Inspect around window and door trim for cracked paint, soft wood, or bubbling finish. Bubbling means water is trapped in the wood grain and vapor pressure is pushing the paint off.
- Look at the roof line. Missing or damaged flashing at roof-to-wall intersections lets water run behind the siding, which is a common source of hidden wall rot in Austin homes built in the 1980s and 1990s.
When exterior wood replacement is needed, material choice matters. We specify James Hardie siding on most exterior renovation work because it holds up to Central Texas heat and humidity without the expansion and contraction issues that plague wood and vinyl. It costs more upfront than wood lap siding, but the replacement cycle is measured in decades, not years.
For trim and decorative wood elements, Barrette and Master Halco both offer engineered products that resist the moisture cycling we see in Austin’s clay-heavy neighborhoods. The point of maintenance isn’t just to catch problems early; it’s to replace failing materials with products that don’t repeat the failure.
Irrigation and Drainage: Keep Water Moving Away from the House
In Austin, water is both the solution and the problem. Soil moisture around your foundation needs to stay consistent. Too dry and the clay shrinks. Too wet and it swells and washes out the bearing capacity of the soil. Your irrigation system and gutters control that balance, and most systems are set up wrong from the day they were installed.
Here is what we check and what we tell homeowners to watch for:
- Sprinkler heads spraying the foundation. Water hitting the slab continuously creates a wet zone, which causes that section of soil to swell while the rest of the foundation sits on dry, shrunken clay. Adjust head distance so the spray stops at least 18 inches from the house.
- Gutter downspouts discharging at the foundation. A single downspout dumping roof water at the slab edge can move more water against the house in one storm than the soil can absorb. Extend downspouts at least 4 feet away from the foundation, ideally into a buried drain or sloped swale.
- Negative grading. The ground should slope away from the house at a rate of about 6 inches over the first 10 feet from the foundation. Walk the perimeter after a heavy rain and look for water ponding against the house. If you see standing water within 3 feet of the slab, fix the grade now.
- Downhill drainage from neighboring properties. Austin’s hilly terrain means a neighboring lot upslope may be sending water onto your property. If water sheets across your yard during heavy rain, install a swale or French drain to redirect it before it reaches the foundation.
- Irrigation controller schedules in winter. Many Austin homeowners leave summer watering schedules running through the winter months, which oversaturates the soil during the season when evaporation is lowest. Cut back watering frequency between November and February.
Soil moisture consistency is the cheapest foundation insurance you can buy. A simple soaker hose around the foundation perimeter during extreme drought can prevent the differential settlement that causes thousands of dollars in structural repairs. The target is consistent moisture all the way around the house, not wet soil on one side and bone-dry soil on the other.
Documentation: How to Keep Records That Get You a Written Estimate, Not an Open-Ended Quote
Here is a truth about how contractors price work: when you can’t document the history of a problem, we have to assume the worst and build contingency into the estimate. When you can show us photos, measurements, and dates, we can price the work precisely. Documentation is not just about protecting yourself, it’s how you get an honest written number up front instead of a discovery-based open-ended quote.
Create a simple maintenance file for your house. A three-ring binder, a digital folder, or both. Here is what goes in it:
- Date-stamped photos of every crack, gap, stain, and irregularity you find during your seasonal inspections. Use the same angles for each check so you can compare over time.
- Measurements of foundation cracks. Note the width in inches or millimeters and whether the crack has grown between inspections. A crack that stabilizes at 1/16 inch for three years tells a completely different story than one that doubles in a season.
- Repair invoices and work orders. If a plumber fixed a leak under the slab in 2019, that information changes how we read current moisture signs. If a previous contractor installed new flashing, we want to know who did it and when.
- Water damage events, even minor ones. An overflowed toilet in 2021 that soaked the hallway carpet may explain a moisture stain we find in a wall during a remodel three years later.
- Annual inspection summaries. Write down who inspected what, when, and what they found. If you hire a home inspector, keep the report.
When you bring this file to an estimate appointment, the conversation changes. Instead of a range and a disclaimer, we can give you a written price that reflects what we actually know about the house. That is the whole point. The written number on day one should be the number on the final invoice, and documentation is what makes that possible.
At Penhallow Remodeling Austin home, we require a written price before any work starts. It’s the only way we operate, and it works best when the homeowner brings us the history we need to see the full picture.
The Austin Seasonal Rhythm: What to Check When
Austin doesn’t have four seasons. It has two harsh ones (summer heat, winter cold snaps) and two transitional seasons that are actually the busiest times for maintenance. Here is the calendar we recommend.
Spring (March through May)
- Flush HVAC condensate lines before the cooling season starts in earnest.
- Inspect exterior wood, deck ledgers, and siding before summer heat bakes in any winter damage.
- Check caulk and expansion joints before the rainy season.
- Adjust irrigation for the growing season, checking spray coverage and foundation clearance.
- Walk the foundation perimeter for new cracks after the winter/spring moisture cycle.
Summer (June through September)
- Monitor HVAC condensate lines monthly during peak cooling.
- Check for door binding and window sticking as humidity peaks, which signals frame movement.
- Inspect around the foundation for shrinkage cracks in the soil during dry spells.
- Run a soaker hose near the foundation during drought conditions to maintain consistent soil moisture.
Fall (October through November)
- Recaulk exterior joints damaged by summer sun before winter rain arrives.
- Check gutters and downspouts before the rainy season.
- Adjust irrigation schedules down for cooler weather and shorter evaporation windows.
- Inspect foundation again after the summer drought and before winter moisture returns.
Winter (December through February)
- Inspect indoor caulk around tubs, showers, and sinks during the season when humidity is lowest.
- Check for cold-weather foundation movement after the first hard freeze.
- Inspect the attic for signs of condensation or moisture, which is more common when warm indoor air meets cold roof decking.
- Review your maintenance documentation file and update measurements for the year.
Common Mistakes to Avoid
- Ignoring a crack because it’s small. Hairline cracks are normal. Cracks that widen, lengthen, or change direction between inspections are not. A quarter-inch crack in November that was an eighth-inch in March is a structural signal, not a cosmetic trait.
- Caulking over failed caulk instead of removing it. New caulk applied over old, cracked material will fail within months because it never bonds to the surface. Remove, clean, then reapply.
- Letting sprinkler heads hit the foundation for months at a time. The most common drainage problem we see in Austin houses is irrigation directly spraying the slab. It causes localized soil swelling that shows up as sticking doors and shifted frames.
- Assuming slab foundations don’t need maintenance. Slab homeowners have fewer visible inspection points than pier and beam owners, but the house still moves. If you’re not checking door operation, window operation, and floor level changes, you’re flying blind.
- Waiting to fix a dripping condensate line until water shows up inside. By the time a clogged HVAC condensate line produces a visible wall stain or ceiling drip, the water has already been pooling inside the wall cavity for weeks or months. Monthly vinegar flushes cost cents. Remediation costs thousands.
- Not documenting what you find. A mental note is not a maintenance record. You will not remember exactly where that crack was in six months, and your contractor can’t price a repair accurately without the history.
- Doing structural work yourself. Jacking up a sagging floor or repairing a deck ledger can seem straightforward on YouTube, but the forces involved are significant and the failure modes are dangerous. If a deck is separating from the house or a pier has shifted, get a professional involved.
When to Call a Professional
Some maintenance items are homeowner territory. Caulking, flushing condensate lines, adjusting sprinklers, and checking gutters are all reasonable DIY tasks. Others are not. Call a professional if you see diagonal cracks wider than 1/8 inch, a deck ledger pulling away from the house, standing water against the foundation after rain, or repeated caulk failures in the same joint year after year. Signs of water damage inside walls, like staining, bubbling paint, or a musty smell with no visible source, require a professional assessment before the visible damage spreads. Deck ledger repairs and any structural modifications should never be DIY. For structural work, trust our General Contractor services. Penhallow Remodeling Austin offers free estimates in Austin, call (325) 225-5429.
Frequently Asked Questions
Twice a year is the minimum: once in spring after the rainy season and once in fall after the summer drought. Homes on expansive clay soil with visible cracking, or homes under 20 years old, benefit from quarterly checks during the first few years of settlement.
Failed caulk and sealant joints around exterior penetrations, which allow water to enter wall cavities and cause hidden wood rot. Austin’s extreme temperature swings between cold winters and hot summers mean exterior sealant degrades faster than in temperate climates.
A professional home inspection in Austin typically runs $300 to $500 depending on home size and scope. Specialized foundation inspections from a licensed structural engineer usually start around $400 and go up from there. Annual DIY checks cost almost nothing and prevent most of the expensive surprises.
Humidity causes wood door frames and doors themselves to swell. In a home with foundation movement, the sticking is often a combination of humidity plus slab shift, which changes the geometry of the door opening. The first step is to check humidity levels in the house. If doors stick in multiple rooms and the problem persists after humidity normalizes, the foundation is likely moving.
Hairline cracks under 1/16 inch are normal in Austin, especially in older homes and in houses on expansive clay. Cracks wider than 1/8 inch, or cracks that grow between inspections, suggest movement that warrants a professional evaluation. Document the crack with photos and measurements, then recheck it in three months.
Bring your maintenance documentation to the estimate meeting. Date-stamped photos, crack measurements, repair invoices, and water damage history give the contractor the information needed to price the work accurately. Without documentation, the contractor must assume worst-case conditions and build in contingency. Penhallow Remodeling Austin gives written prices before work starts, which works best when the homeowner brings the full history. Call (325) 225-5429 to schedule a free estimate.
The Bottom Line

Maintenance in Austin is not a once-a-year chore. It is a seasonal rhythm built around the specific ways Central Texas heat, clay soil, and humidity cycles attack a house. The homeowners who avoid the big remodel surprises are the ones who know where to look and document what they find. Twice a year, walk the perimeter, check the caulk, flush the condensate line, and record everything in a maintenance file. When the time comes to remodel, you will bring us the history we need to give you a written price you can trust. That is how a house in Austin stays solid through every season, and how a remodel stays honest from the first estimate to the final walkthrough. For more guides & resources, visit our blog.
Written by Trevor Nash, Owner at Penhallow Remodeling Austin, serving Austin since 2004.
See the difference
 Before
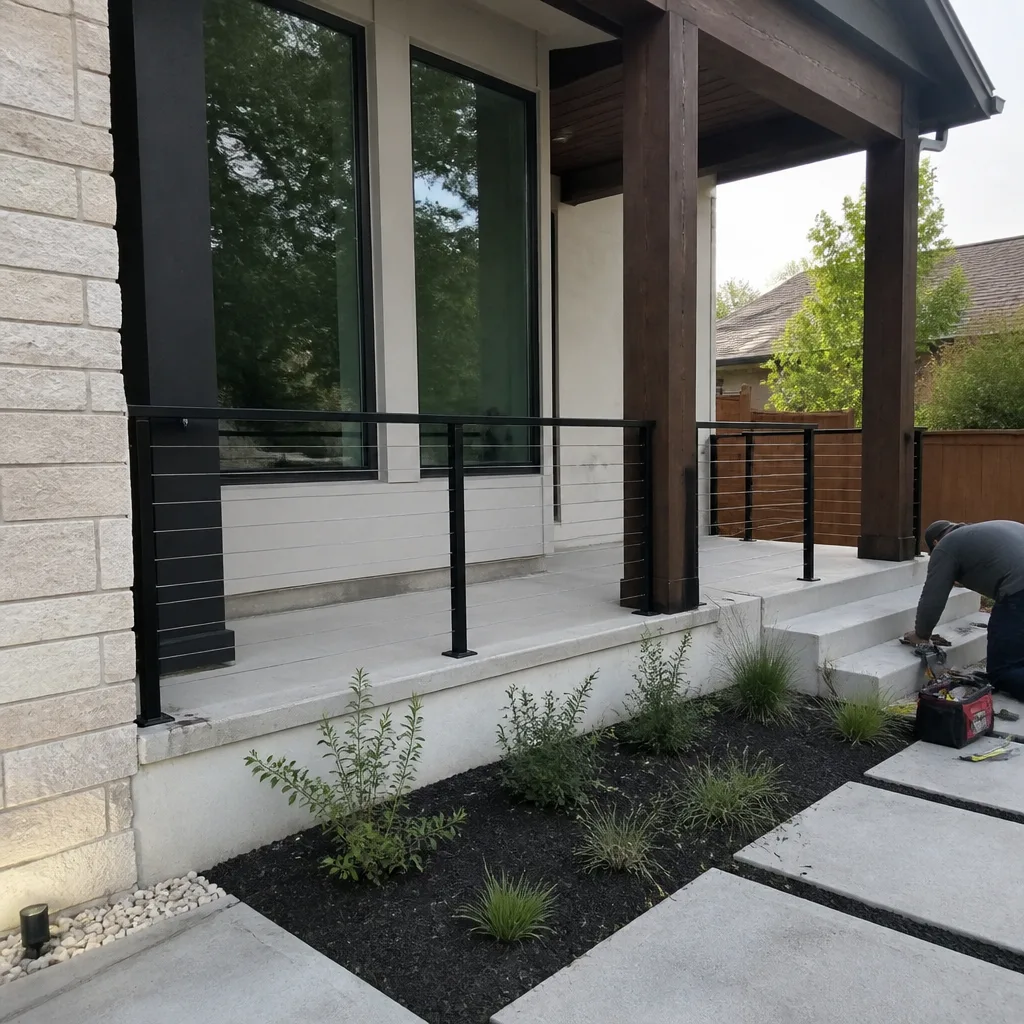
 After
After Before
 After
After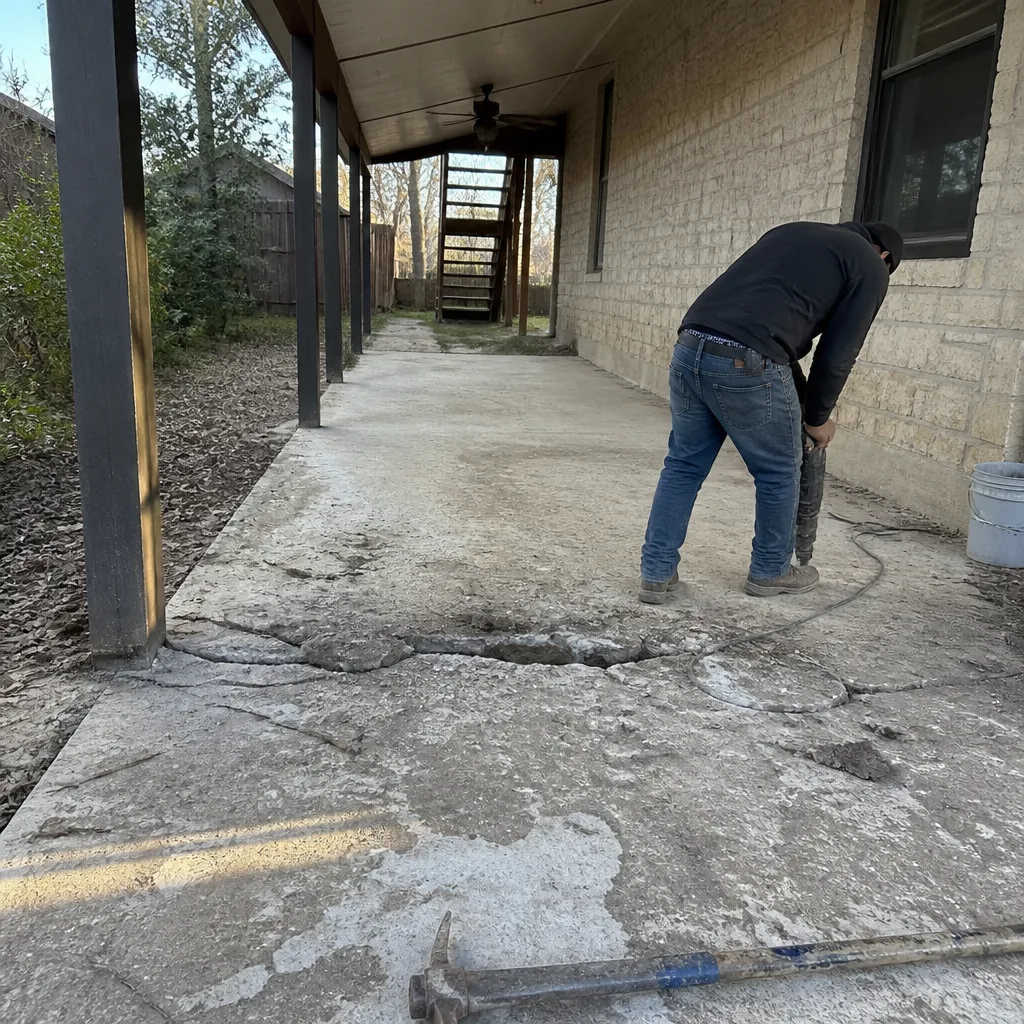 Before
 After
After